Roblox: make a hat
Build any fig, export it as a .lowpoly accessory, and view it on an avatar in Studio.
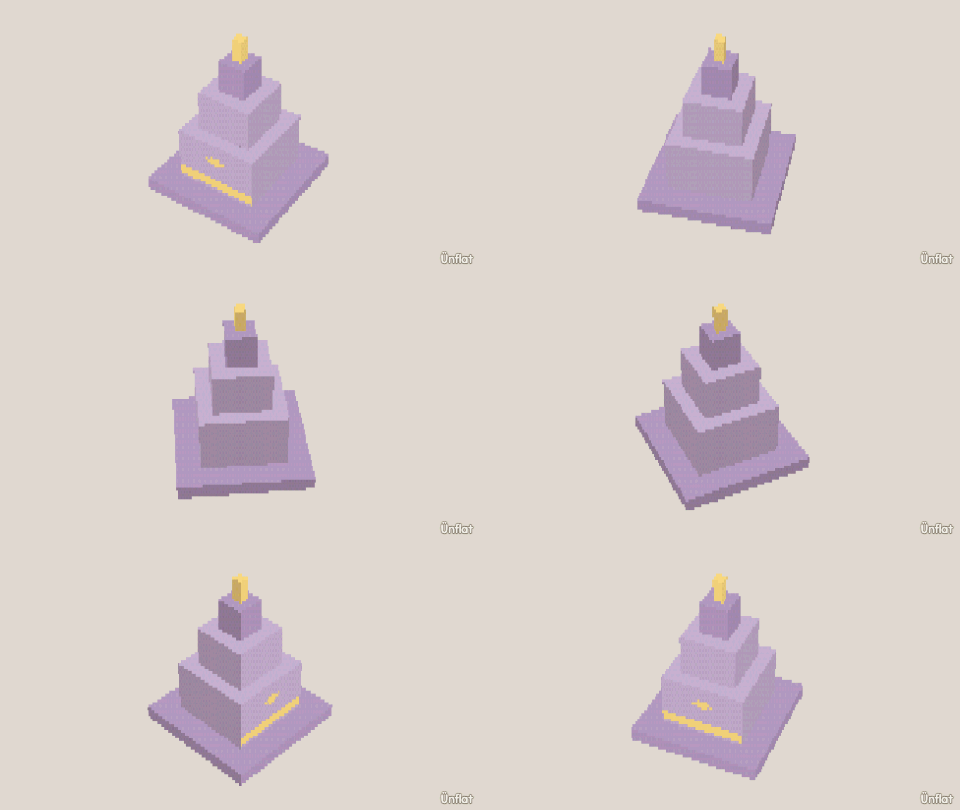
Video coming soon. The written walkthrough below is the whole build.
Written walkthrough
Make a hat, export it as an accessory, and view it on an avatar in Roblox Studio. You need a computer with Roblox Studio (free) and the Ünflat plugin installed. No Robux needed.
1. Build the hat
Build it like any fig: drop, carve, paint. Keep it one piece: a hat made of loose pieces gets a warning at export, and the Marketplace requires a single piece. Keep it watertight, with no holes into the inside.
2. Export the .lowpoly
Open the Share menu and tap For a game: Roblox, .glb, sprites…,
then Roblox. Find the Avatar accessory section. Select Hat and
the body scale you want (Classic for blocky avatars). The export is
sized to fit a head. Check the size shows the hat on a Roblox
mannequin with a slider to make it bigger or smaller. Tap Use this
size and that size exports. Tap Download .lowpoly. The file takes
the fig’s name and its slot: a fig called Cowboy downloads as
Cowboy_hat.lowpoly. A fig still called Untitled asks for a name first.
Move the file to your computer.
3. Build it with the plugin
In Studio, open any place. Plugins tab, the Ünflat button, then Build a model… and select your .lowpoly file. The hat appears in the workspace with its colors, set up as an accessory for the slot you selected.
4. Fit it with the Fitting Tool
Open the Accessory Fitting Tool (Avatar tab), select the hat, and preview it on a test body. The tool places the attachment point; do not add one yourself. Adjust the fit, then generate the accessory.
Everything here stays inside Studio and is free. To have your own avatar wear the hat in any game, see the upload walkthrough; it costs Robux.