Build a tree
A trunk, a crown sunk on with Overlap, and a canopy shaped by rings.
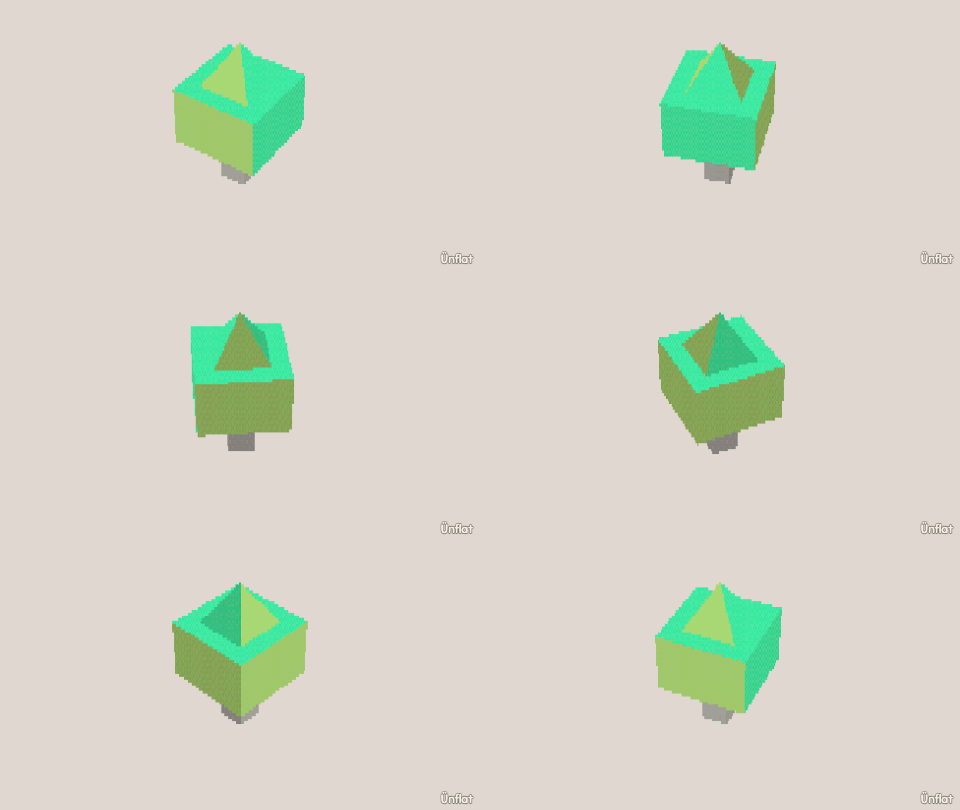
Video coming soon. The written walkthrough below is the whole build.
Written walkthrough
Sink a crown onto a trunk with Overlap, then shape the canopy by rings.
1. Drop the trunk
Drop a Cylinder on open floor, tall and thin with the steppers.
2. Sink the crown onto it
Set the Sits row from Touch to Overlap and select a big Sphere. Tap the top of the trunk: the preview appears there. With Overlap on, it sinks over the trunk’s top instead of resting on it. Drop.
3. Slice and shape the canopy
In Build, tap Cut , keep Slice and Across, tap the crown to place the belt line, and press Cut. In Adjust, tap Resize with Pick on Rings. On the Steps card, press Wider on the lower ring and Thinner near the top, so the canopy is full at the bottom and tapers up. One slice and three presses is enough.
4. Color it
Fill the trunk brown and the crown green. Open Paint on the crown to add apples or blossoms.
For an orchard, build it three times at three sizes, or once, then Duplicate on the record pages .