Make a Roblox shirt
Select a clothing blank, paint it, and export a Roblox PNG.
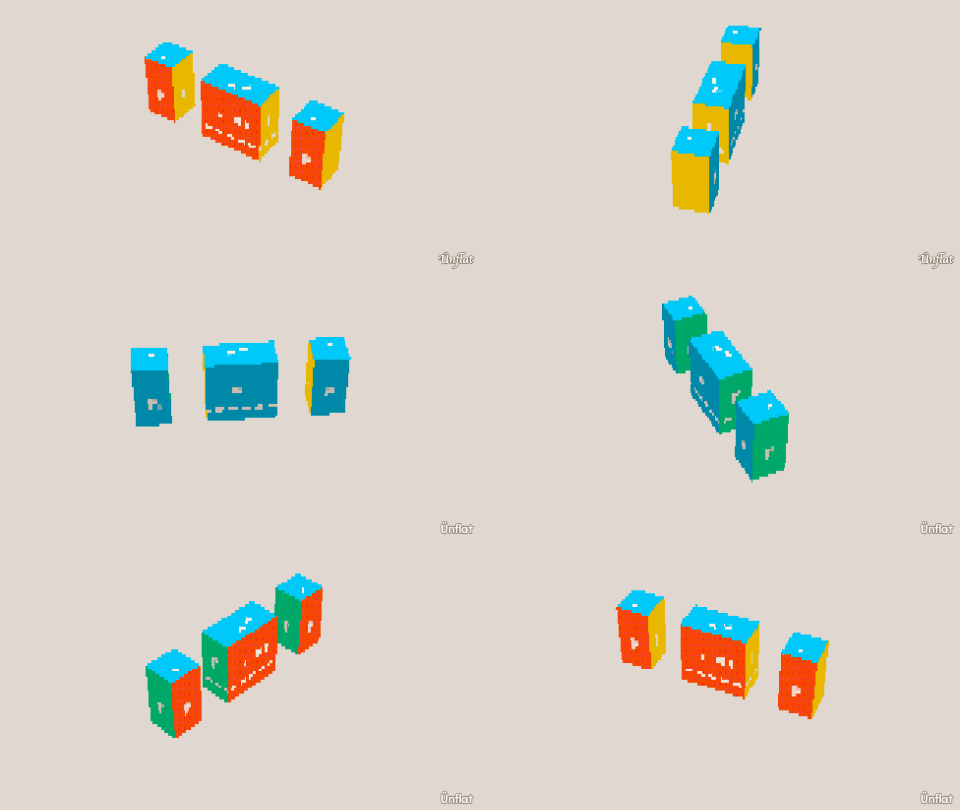
Video coming soon. The written walkthrough below is the whole build.
Written walkthrough
Roblox clothing is painted on a flat template sheet. In Ünflat you paint the shirt itself and export the sheet.
1. Select a shirt from the shelf
Patterns tab, Roblox clothes shelf (bottom of the page). Start with the Cozy hoodie or the Plain tee; they are already colored. Tap the card and the shirt opens in the editor.
2. Recolor and decorate
Fill swaps the base colors. Then Paint the details: a logo on the chest, stripes down a sleeve. The front of the torso faces you; the sleeves are beside it. What you paint is what Roblox renders.
3. Check every side
Orbit the shirt and check the back and both sides. Clothing shows from every angle on an avatar. (The arms are separate pieces so every paintable patch faces you at some angle.)
4. Export the Roblox PNG
Open the Share menu and tap For a game: Roblox, .glb, sprites…, then Roblox. The card opens on the Export template (.png) section. Tap Download .png. The file is the template sheet Roblox expects, pixels placed one-for-one.
Next: See it on an avatar (free) puts this PNG on a test body in Roblox Studio at no cost.