See-through painting
Set the eraser to See-through and cut holes for leaves, fences, lace, and windows.
Video coming soon. The written walkthrough below is the whole build.
Written walkthrough
The eraser’s See-through mode cuts holes through a fig. Use it for leaves, fences, lace, and window panes without adding faces.
1. Open Paint on a flat part
Drop a thin flat piece, or select one on a fig you have (a leaf, a fence panel, a window). In Color, tap its faces to select them, then tap Paint to open the pixel canvas.
2. Switch the Eraser to See-through
Tap the Eraser . Its settings open on the first tap. The Erase to row has two choices: Color, the face’s own, or See-through. Select See-through and a Size. (The palette has a See-through ink too: every tool cuts a hole with it, and Fill cuts out the area it fills.)
3. Cut a leaf
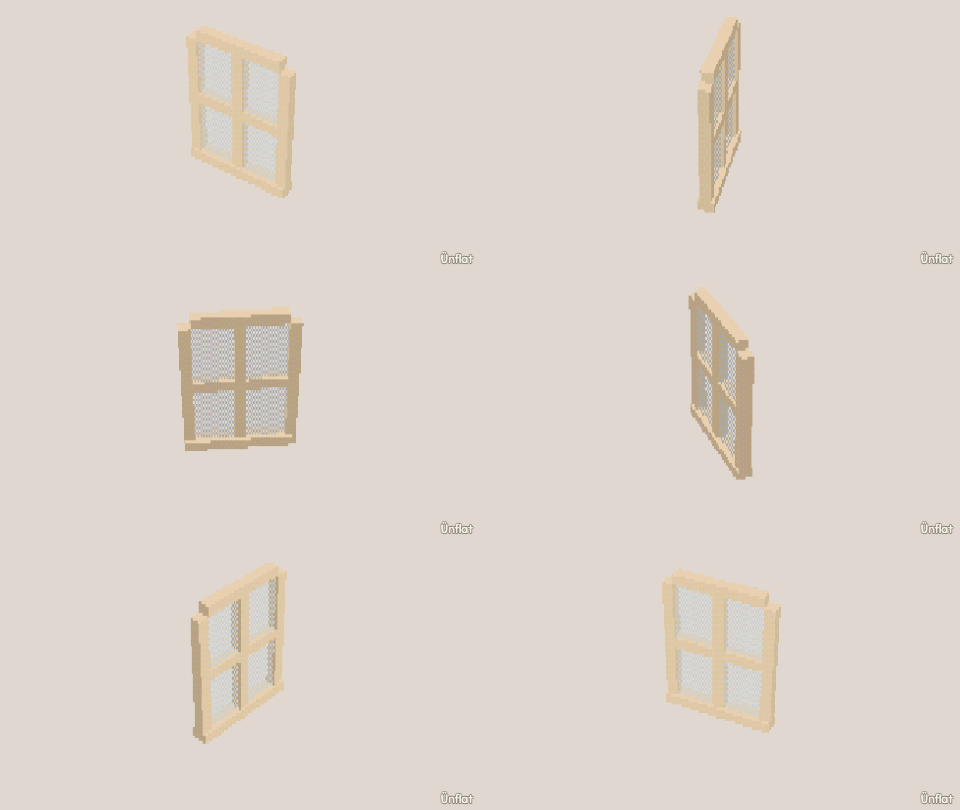
Erase the holes. On a leaf, cut notches in from the edges. On a fence, cut the gaps between the boards. On a window, cut the panes and leave the cross. Erased pixels become cutouts in the fig, and the checkerboard on the canvas shows where the fig is see-through.
Undo reverses the whole stroke, and painting over a hole fills it in.
4. Peek through it
Press Done and rotate the camera. The sky is visible through the fence and the wall through the window. Tap Showtime to watch it play.
5. Export keeps the holes
The holes are part of the fig. Export the .glb and the see-through parts stay see-through in game engines, scenes, and photo shoots.
The same eraser on one thin box makes fences, railings, leaves, ferns, snowflakes, and spiderwebs. Cut first, color after.