Raise a little cottage
Drag a room onto the map, select a roof, and slide a door along a wall.
Video coming soon. The written walkthrough below is the whole build.
Written walkthrough
Draw a building on the map: a room from one drag, a roof from a tile, and a door that slides along a wall. This is the Little Cottage card in the Learn tab.
1. Open Build
Open the World tab, then tap Build. The Build card opens on its catalog: picture tiles for every piece. Select a building later and the same card shows that building’s page.
2. Draw the walls
In the catalog, tap the Room tile and drag a rectangle on the map. Four walls, a floor, and the corner posts are placed together. For another shape, tap the Wall tile and drag wall by wall; bends become corners. The Ground row decides how the building meets a hill: Carve or On top .
3. Roof it
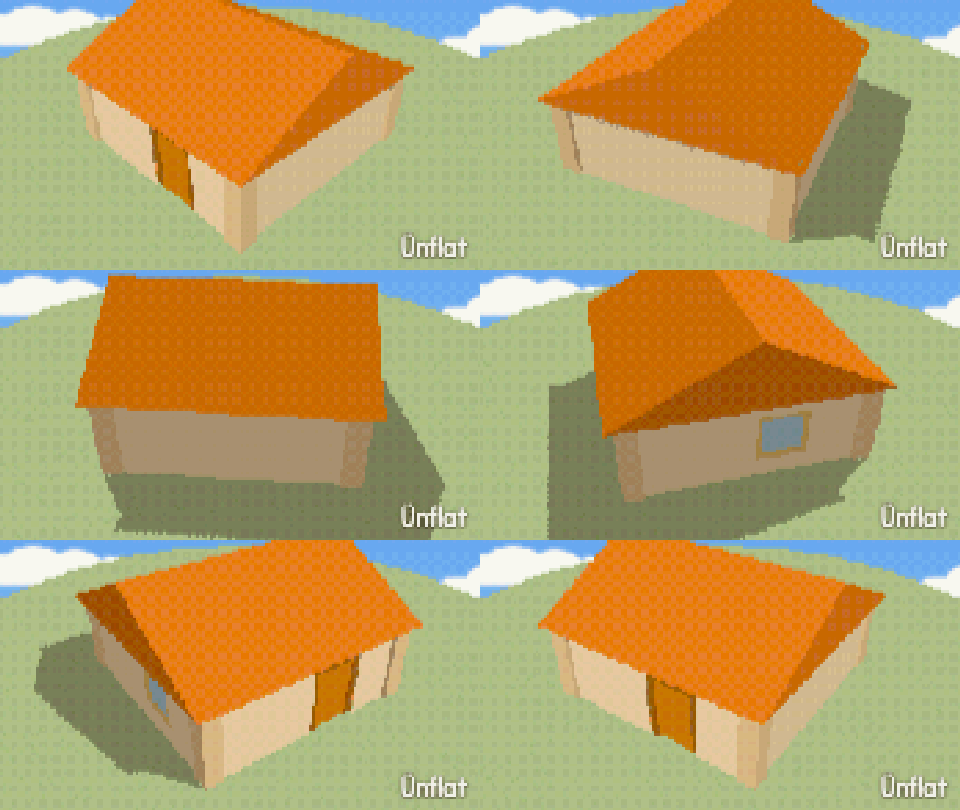
On the Select bar, set What to Building, then tap the building on the map. One outline lights up and the card shows the building’s page. Under Shape, set Roof to On and select a roof from the twelve picture tiles: Peaked, Hip, Barn, Mansard, Slanted, Pagoda, Flat, A-frame, Saltbox, Round, Clerestory, or Steeple. Eaves is Narrow or Wide, and Rotate the roof rotates it. Floors, Foundation, Ceiling, and Trim are on the same page.
The catalog shows the same twelve. Arm the Roof tile there and a Roof kind row opens under the Roofs row. A tap sets the kind of the next roof you add.
4. Hang a door
Tap ‹ Catalogue to return to the tiles. Tap Door in the Doors row, then press a wall on the map or in 3D. A preview shows where it will go. Lift your finger to place it. Drag along the wall to slide it. Panelled, Glass, Double, Sliding, and Shutter doors are in the same row. Windows, garage doors, and skylights are placed the same way.
The building’s page colors it part by part under Look: Outside, Inside, Floors, Roof, Foundation, Trim, and a Wall style row. To set a room’s look before you draw it, set the Draw with row at the top of the catalog.