3D print your fig
Export a fig as an .stl file, slice it, and print it.
Video coming soon. The written walkthrough below is the whole build.
The model
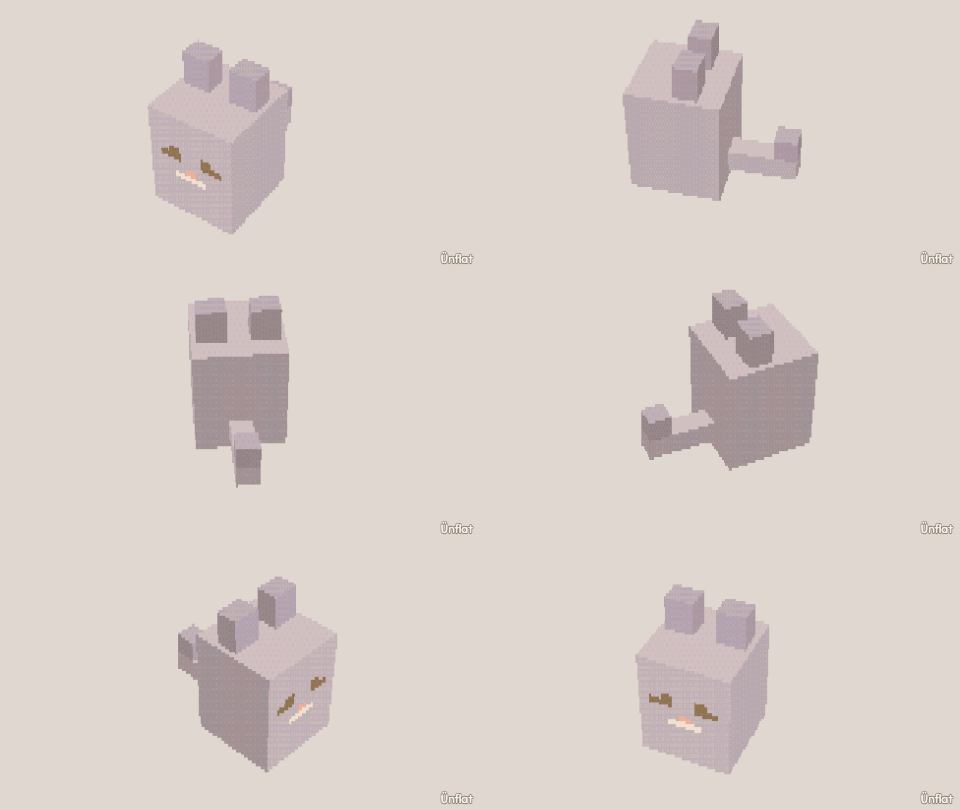
Have a look, or take the .glb.
Written walkthrough
Turn a fig into a printed object. Figs are closed solids with no thin walls, so they print without special setup.
1. Download the .stl
Open the Share menu and tap For a game: Roblox, .glb, sprites…, then Game development. In the 3D print (.stl) section, select the length of the fig’s longest side: 4 cm, 8 cm, or 15 cm. The note under the chips shows the print’s width, depth, and height. Tap Download .stl. The file holds the shape only, with no color. See 3D print a fig .
2. Open it in your slicer
Open the .stl in a slicer such as Cura, Bambu Studio, or PrusaSlicer.
The file is in millimeters at the size you selected.
3. Orient and add supports
The fig stands upright on the plate. Rotate it if another face is flatter against the bed. Rounded forms need only light supports. Turn on tree supports if your printer offers them.
4. Print it
Slice it and send it to the printer. The file is one closed solid.